
Connecting your computer using the AV Control Center
Introduction
The AV Control Center panel allows you to connect your laptop to the room projector or TV.
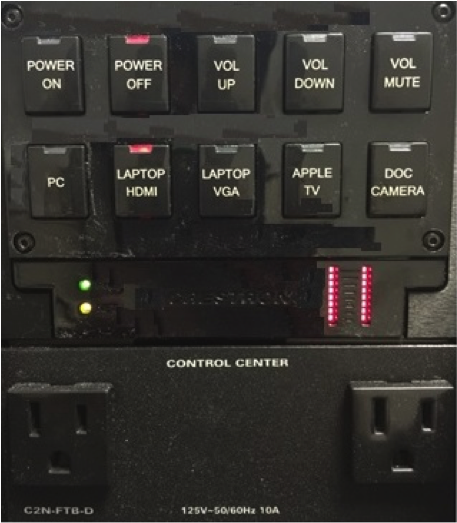
Getting Connected
- Plug in your laptop’s power supply to one of the two outlets conveniently located on the panel.
- If projector or TV is not on already, press the “POWER ON” button on the panel. In rooms with a projector, the projector will take approximately 90 seconds to power on.
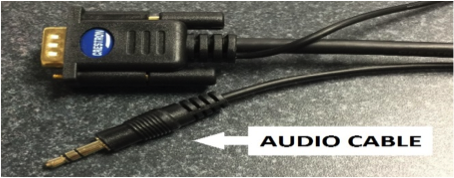
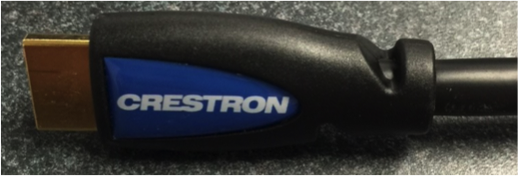
- Identify the type of video connector your computer uses. There are two types of cables provided:
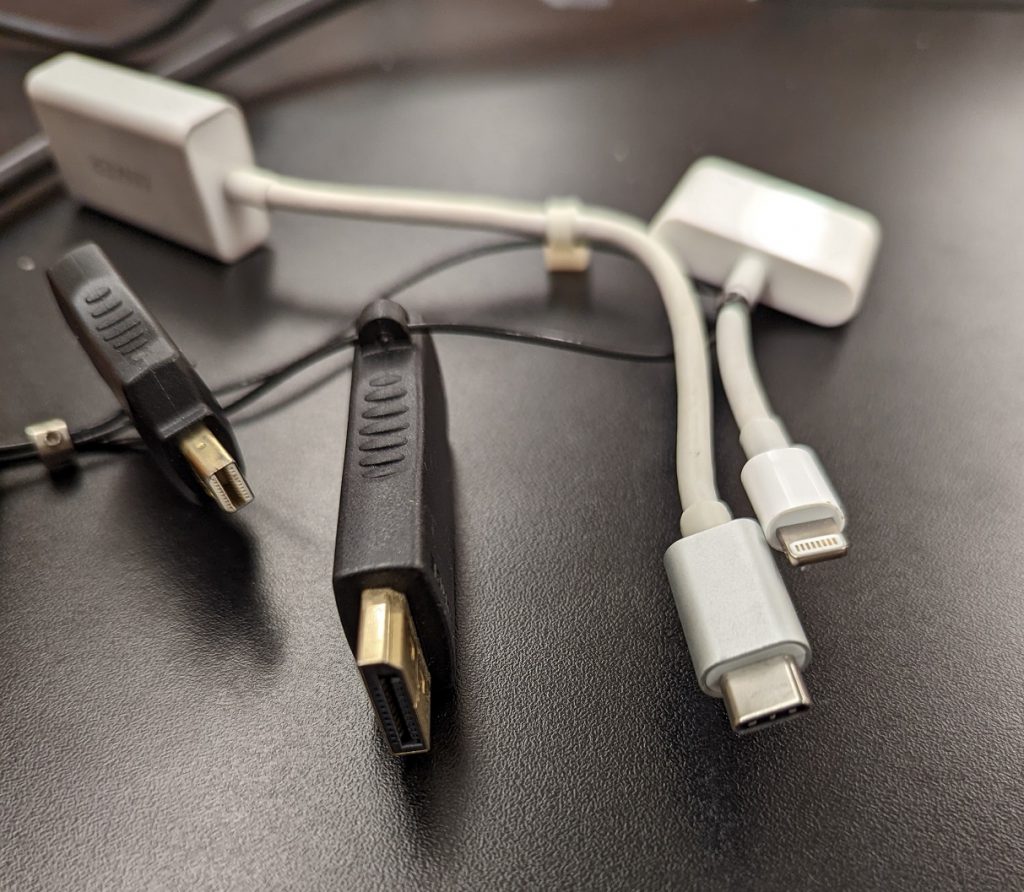
Additionally, attached to the HDMI cable, there is a ring containing 6 types of video adapter connectors listed (and shown) below. If you need one of these adapters, please connect it to the HDMI cable first.
- Mini-DisplayPort / Thunderbolt (commonly used for Macbooks)
- Lightning (for iPads and iPhones)
- Regular DisplayPort
- USB-C
- OPTIONAL: If audio is required, lower volume on laptop to approx. 50-60% before connecting any cables to prevent speaker blowout).
- Connect video cable to your laptop then press one of the following buttons on the panel depending on connector type.
- VGA cable: press the “LAPTOP VGA” button on the panel. (OPTIONAL: if audio is needed, connect 3.5mm cable (SEE IMAGE ABOVE) to the headphone jack of your laptop).
- HDMI cable: press the “LAPTOP HDMI” button on the panel. (NOTE: audio is sent through HDMI cable). If no video appears:
- Double-check that correct video input is selected on the panel.
- Please try disconnecting video cable then re-connecting.If video still does not appear, you will have to either change your computer’s display setting (For PCs, this can usually be found via Control Panel. On Macs, please proceed to System Preferences -> Display).
- (OPTIONAL FOR AUDIO PLAYBACK): Sound volume can be adjusted via the “VOL UP” or “VOL “DOWN” buttons on the panel. Audio may be muted/unmuted via the “VOL MUTE” button.
- When class is done, press the “POWER OFF” button on the panel to turn off projector or TV. You may now disconnect the video cable (and audio cable, if used) from your device.
- Don’t forget to take your computer’s power supply!
For additional help, please contact the helpdesk at (310) 794-9327 (Mon–Fri, 8:30AM–5PM) or submit a helpdesk request.